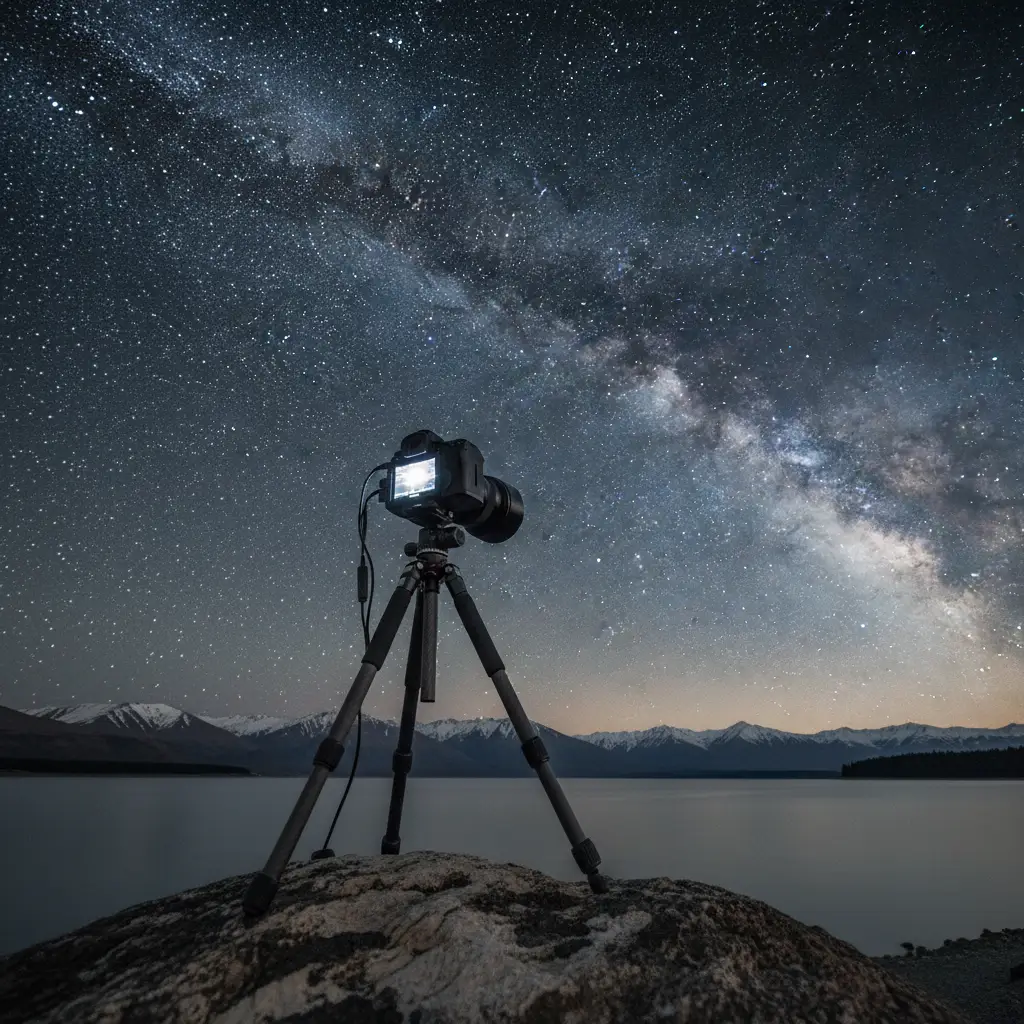
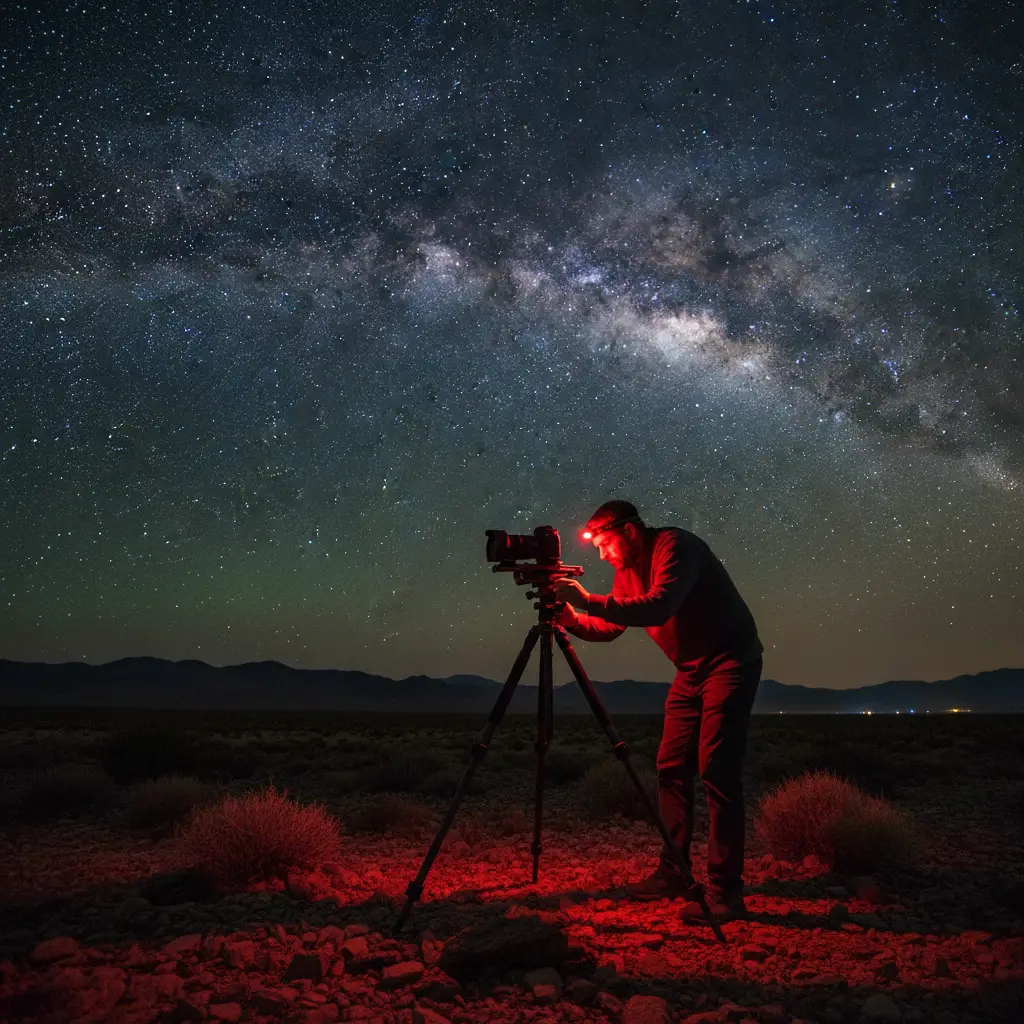
The essential astrophotography gear for NZ includes a full-frame DSLR or mirrorless camera with high ISO performance, paired with a wide-angle lens (14-24mm) featuring a fast aperture of f/2.8 or lower. A heavy-duty, wind-resistant tripod is critical for New Zealand’s alpine conditions, alongside a remote shutter release and red-light headlamp to preserve night vision.
New Zealand is widely recognized as one of the premier astrophotography destinations on Earth. With vast swathes of land designated as International Dark Sky Reserves—including the famous Aoraki Mackenzie International Dark Sky Reserve—the country offers unparalleled access to the galactic core of the Milky Way, the Magellanic Clouds, and the elusive Aurora Australis. However, capturing these celestial wonders requires more than just enthusiasm; it demands a strategic approach to equipment selection tailored to the unique atmospheric and geographic conditions of the Southern Hemisphere.
Whether you are a seasoned professional looking to upgrade your kit or an enthusiast planning a photography tour through the South Island, understanding the nuances of astrophotography gear NZ offers is the first step toward capturing breathtaking nightscapes. This guide covers the commercial landscape of gear availability, technical requirements, and survival essentials for the cold New Zealand nights.
What to Pack for a Stargazing Trip
When assembling your kit for New Zealand, you must prioritize light-gathering capability and stability. The Southern Alps generate unique weather patterns, often resulting in high winds even on clear nights. Your gear must be robust enough to withstand the elements while sensitive enough to resolve faint starlight.
Camera Bodies: Sensor Size Matters
While crop-sensor (APS-C) cameras can yield decent results, a Full-Frame sensor is the industry standard for astrophotography. Full-frame sensors have larger individual pixels (photodiodes), which allow them to gather more light and produce significantly less digital noise at high ISO settings (typically ISO 1600 to 6400).
- Top Contenders: The Sony A7 series (specifically the A7S III or A7 IV), Nikon Z6 II, and Canon EOS R6 are popular choices among NZ astrophotographers due to their exceptional low-light dynamic range.
- ISO Invariance: Look for cameras that are ISO invariant. This allows you to underexpose images to preserve highlight detail in bright stars and boost the shadows in post-processing without introducing excessive noise.
Lenses: The “Fast” Glass Requirement
The lens is arguably more important than the camera body. To capture the Milky Way without star trailing, you need a lens that allows a massive amount of light to hit the sensor in a short amount of time (usually 15–25 seconds).
- Aperture: You require a “fast” lens, meaning a maximum aperture of f/2.8 or wider (lower number). Lenses with f/1.4 or f/1.8 are even better, allowing you to lower your ISO for cleaner images.
- Focal Length: Ultra-wide focal lengths between 14mm and 24mm are ideal. They allow you to capture the expansive landscapes of New Zealand—such as the Church of the Good Shepherd or Mount Cook—alongside the Milky Way arch.
- Coma Control: Ensure your lens has low “coma” (comatic aberration). Lenses with poor coma control will stretch stars in the corners of the image into bird-like shapes rather than sharp points. The Sigma 14mm f/1.8 Art and the Sony 20mm f/1.8 G are excellent commercial options available in NZ retailers.
Tripods: Stability in the Roaring Forties
New Zealand sits in the “Roaring Forties” latitude, known for strong westerly winds. A flimsy travel tripod will result in micro-vibrations, ruining your long exposures.
Invest in a tripod that does not have a center column (or allows you to remove it), as this lowers the center of gravity. Carbon fiber is preferred over aluminum as it dampens vibrations better and is lighter to carry on hikes. Brands like Gitzo, Really Right Stuff, and high-end Manfrotto models are widely stocked in NZ camera stores.
Buying vs. Renting Gear in New Zealand
For international travelers, the debate between hauling expensive glass across borders versus renting locally is significant. New Zealand has a robust rental market catering specifically to the film and photography industry.
The Case for Renting
If you do not own a full-frame system, purchasing one solely for a two-week trip is a massive financial outlay (easily exceeding $5,000 NZD). Renting offers access to top-tier astrophotography gear in NZ for a fraction of the cost.
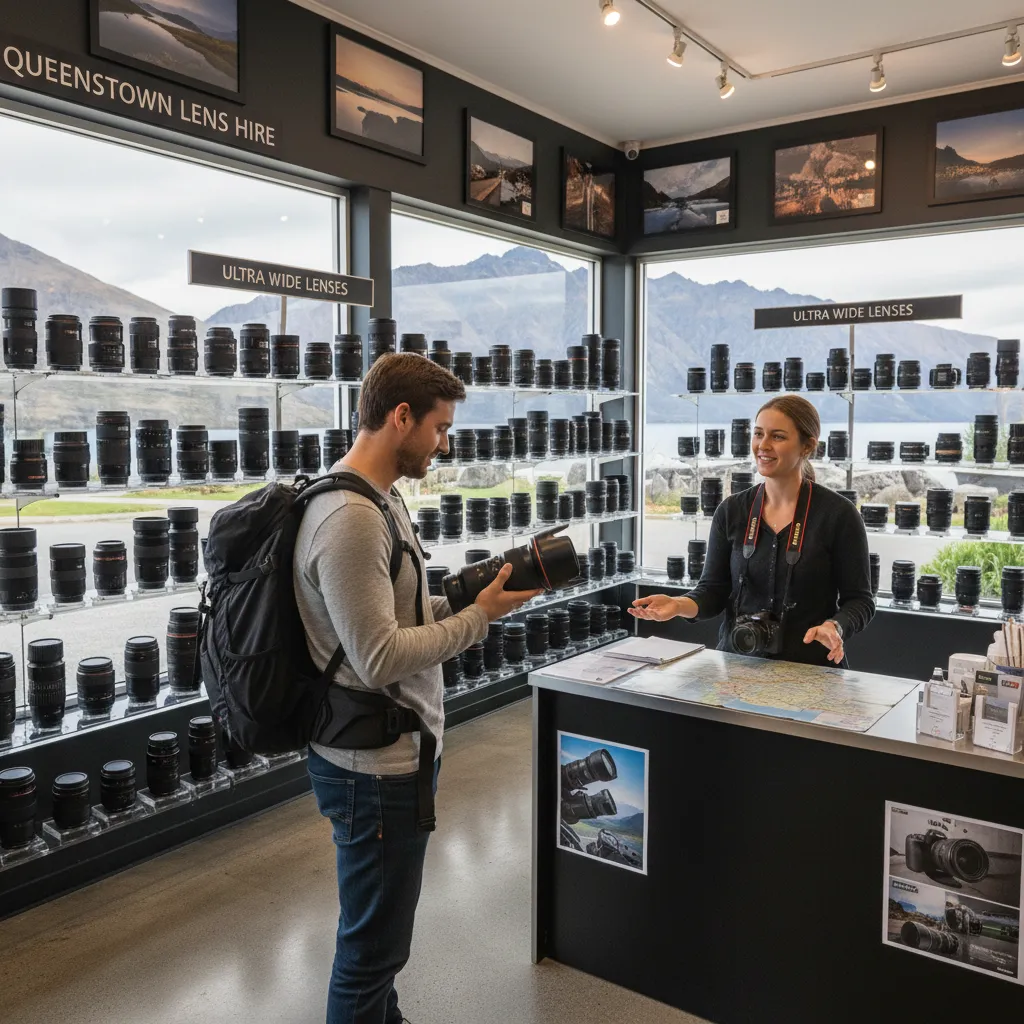
- Availability: Major hubs like Auckland, Christchurch, and Queenstown have dedicated camera rental houses. Christchurch is particularly strategic as it is the gateway to the Mackenzie Basin dark sky reserve.
- Try Before You Buy: Renting allows you to test specific lenses, such as the Nikon 14-24mm f/2.8, to see if it suits your style before committing to a purchase.
- Insurance: Rental agreements usually come with insurance options, reducing the anxiety of damaging gear on rugged terrain.
The Case for Buying/Bringing Your Own
If you plan to shoot multiple nights or travel to remote locations (like Stewart Island or the Catlins) where rental returns are difficult, bringing your own gear is preferable. Furthermore, astrophotography requires familiarity with your camera’s menu system in pitch-black conditions. Fumbling with a rental camera’s unfamiliar buttons in the dark can lead to missed shots.
Photography Basics for Beginners
Once you have the gear, executing the shot requires mastering manual mode. Automatic settings will not work at night because the camera’s light meter cannot detect the stars properly.
1. Focus (The Hardest Part)
Autofocus does not work on stars. You must switch your lens to Manual Focus (MF).
- Turn on “Live View” on your LCD screen.
- Find the brightest star in the sky or a distant light source.
- Use the digital zoom (magnifier) button on your camera to zoom in on that star on the screen (do not zoom the lens itself).
- Rotate the focus ring until the star is as small and sharp as possible.
- Pro Tip: Use a piece of gaffer tape to secure the focus ring so it doesn’t move while you are shooting or moving the camera.
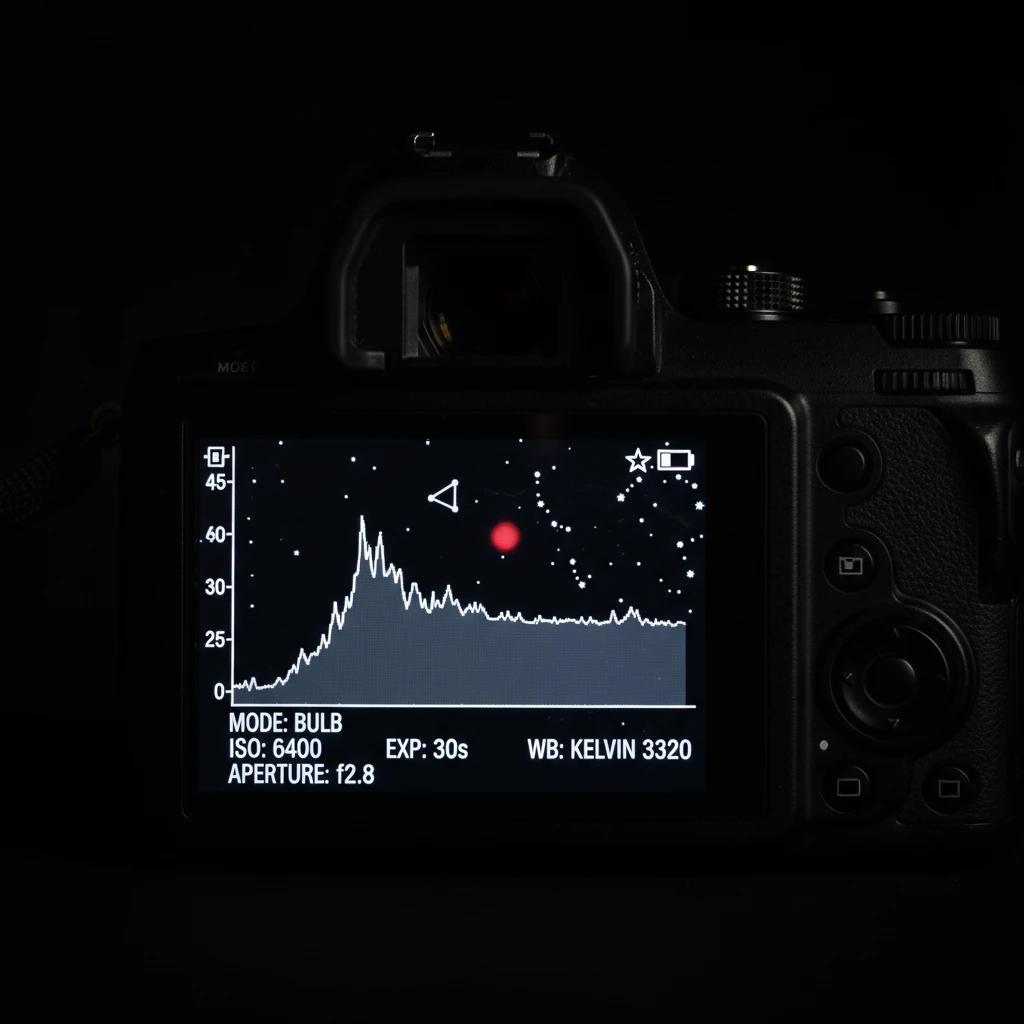
2. The Exposure Triangle for Stars
- Aperture: Open your lens as wide as possible (lowest f-number, e.g., f/2.8).
- ISO: Start at ISO 1600 or 3200. If the image is too dark, go to 6400. If it’s too noisy, drop to 1600.
- Shutter Speed: This depends on your focal length. If the shutter is open too long, the rotation of the earth will cause stars to trail.
3. The 500 Rule
To calculate the maximum shutter speed before stars begin to trail, use the 500 Rule: 500 divided by your focal length = Maximum Exposure Time (in seconds).
Example: Using a 20mm lens on a full-frame camera: 500 / 20 = 25 seconds. You can shoot for up to 25 seconds before trails appear. If you are using a crop-sensor camera, you must account for the crop factor (1.5x for Nikon/Sony, 1.6x for Canon) in the calculation.
Clothing Essentials for Cold Nights
Astrophotography is a sedentary activity. You will be standing still for hours next to your tripod. In New Zealand, even summer nights in the alpine regions can drop to near freezing, and winter nights frequently reach -5°C to -10°C.
The Layering System
Do not rely on a single heavy coat. Use the merino wool layering system New Zealand is famous for.
- Base Layer: 100% Merino wool thermal top and leggings. Merino wicks moisture away from the skin and retains heat even when damp.
- Mid Layer: A fleece or heavy wool sweater to trap warm air.
- Outer Layer: A windproof and water-resistant down jacket (puffer jacket). The wind chill in Tekapo or Mount Cook can be severe.
Extremities
- Gloves: This is critical. You need to operate small buttons on your camera. Look for “photographer’s gloves” which have flip-back fingertips or conductive pads for touchscreens. Alternatively, wear thin merino liner gloves under heavy mittens, removing the mittens only to adjust settings.
- Footwear: The cold seeps up from the ground. Wear heavy hiking boots with thick wool socks. Standing on a foam mat can also help insulate your feet from the frozen ground.
- Headwear: A warm beanie is non-negotiable.
Advanced Tools for Deep Sky Imaging
For those looking to move beyond simple landscape astrophotography (wide-angle shots) and into deep-sky imaging or higher fidelity shots, specific accessories available in the NZ market can elevate your work.
Star Trackers
A star tracker is a motorized mount that sits between your tripod and camera. It rotates the camera at the same speed as the Earth (but in the opposite direction), effectively canceling out the Earth’s rotation. This allows you to shoot exposures of 2, 3, or even 5 minutes at low ISOs (like ISO 400) without star trails.
Popular models like the Sky-Watcher Star Adventurer or iOptron SkyGuider Pro are portable enough for travel and are game-changers for capturing detail in the Milky Way core.
Dew Heaters
New Zealand’s air can be humid, especially near lakes like Tekapo, Pukaki, or Wanaka. As the temperature drops at night, moisture condenses on the cold front element of your lens, fogging up your shot. A USB-powered dew heater strip wraps around your lens and keeps it slightly above the dew point temperature. These are inexpensive and essential for long sessions.
Intervalometers
To capture star trails or time-lapses, an intervalometer is required. This device plugs into your camera and automates the shooting process (e.g., taking one photo every 30 seconds for 2 hours). While some modern cameras have this built-in, an external remote reduces the risk of bumping the camera when starting the sequence.
Scouting the Perfect Dark Sky Spot
Having the right astrophotography gear NZ requires is only half the battle; knowing where to point it is the other. New Zealand offers distinct advantages due to low light pollution.
Lake Tekapo & Mt. John Observatory: The gold standard. The Church of the Good Shepherd is the iconic foreground, but it is often crowded. Moving slightly away from the town toward Lake Alexandrina offers darker skies and fewer car headlights.
Aoraki/Mount Cook National Park: The Hooker Valley Track provides dramatic mountainous foregrounds. The sheer scale of the mountains blocks some light, but the valleys are incredibly dark.
Stewart Island / Rakiura: Located at the very bottom of NZ, this is an International Dark Sky Sanctuary. It is the best place to attempt to photograph the Aurora Australis (Southern Lights) due to its southern latitude.
By investing in the right equipment—specifically fast glass, full-frame sensors, and wind-resistant support—and preparing for the alpine climate, your astrophotography journey in New Zealand will result in images that capture the true majesty of the southern skies.
What is the best lens for astrophotography in New Zealand?
The best lens is a wide-angle lens (14mm to 24mm) with a wide aperture of f/2.8 or faster. The Sigma 14mm f/1.8 Art and Sony 20mm f/1.8 G are highly recommended for capturing the expansive Milky Way over NZ landscapes.
Can I rent astrophotography gear in Queenstown or Tekapo?
Yes, Queenstown has several camera rental houses catering to tourists and professionals. While Tekapo has fewer rental options, it is best to rent in Christchurch or Queenstown before driving to the Mackenzie Basin.
Do I need a star tracker for NZ astrophotography?
A star tracker is not strictly necessary for beginners, but it is highly recommended for high-quality, low-noise images. It allows for longer exposures (2+ minutes) without star trails, bringing out incredible detail in the Milky Way core.
What is the best time of year to photograph the Milky Way in NZ?
The core of the Milky Way is most visible in New Zealand during the winter months, from roughly March to September. Mid-winter (June/July) offers the longest nights and the galactic core high in the sky, though it is very cold.
Is it safe to do astrophotography alone in New Zealand?
Generally, yes. New Zealand is very safe. However, the terrain can be treacherous in the dark. Always carry a headlamp, let someone know your location, and be wary of changing weather conditions in alpine areas.
What camera settings should I use for the Southern Lights (Aurora Australis)?
Aurora settings are similar to Milky Way settings but often require shorter shutter speeds (5–10 seconds) if the aurora is moving quickly, to preserve the structure of the beams. Use f/2.8 or wider and ISO 1600–3200.