Astrophotography 101: Discovering the Best Astrophotography Spots in NZ
The best astrophotography spots in NZ are located within designated Dark Sky Sanctuaries and Reserves, specifically the Aoraki Mackenzie International Dark Sky Reserve, Great Barrier Island, and Stewart Island. These locations offer minimal light pollution, allowing photographers to capture the Milky Way and Aurora Australis with exceptional clarity using standard DSLR equipment and wide-angle lenses.
New Zealand is widely regarded as one of the premier destinations on Earth for stargazing and nightscape photography. With its sparse population, strict light pollution regulations, and unique geographical position, the country offers unparalleled access to the southern celestial hemisphere. Whether you are a seasoned professional or a beginner looking to capture your first Milky Way core, understanding the landscape and the technical requirements is crucial for success.
Why New Zealand is an Astrophotographer’s Dream
New Zealand’s reputation as a top-tier destination for astrophotography is not accidental; it is the result of deliberate conservation efforts and fortunate geography. Unlike the densely populated regions of Europe or North America, New Zealand possesses vast tracts of uninhabited wilderness. This lack of urban sprawl translates directly to low levels of light pollution, measured on the Bortle Scale. Many of the astrophotography spots NZ has to offer register as Class 1 or Class 2 skies—the darkest possible ratings.
Furthermore, the country has embraced the concept of “Dark Sky Tourism.” Local councils and the Department of Conservation work tirelessly to limit street lighting and encourage the use of amber-hued LEDs that interfere less with astronomical observation. This commitment to preserving the night sky is part of the broader Tiaki Promise—a commitment to care for New Zealand, for now and for future generations.
Essential Gear & Photography for NZ Skies
While the location is paramount, having the right equipment is the second half of the equation. You do not need the most expensive camera on the market to capture stunning images, but specific features are non-negotiable for low-light performance.
Camera Body Requirements
To photograph the stars effectively, you need a camera capable of manual mode (M). A Full-Frame sensor is preferred over a Crop Sensor (APS-C) because full-frame sensors generally have larger photosites, which gather more light and produce less digital noise at high ISO settings. However, modern crop-sensor mirrorless cameras are increasingly capable. Key settings you will need to control include shutter speed (up to 30 seconds), aperture, and ISO.
The Right Lenses
The lens is arguably more important than the camera body. For astrophotography, you need a “fast” wide-angle lens.
- Aperture: Look for a maximum aperture of f/2.8 or wider (lower number). An f/1.4 or f/1.8 lens allows significantly more light to hit the sensor than an f/4 lens, enabling you to use lower ISOs and shorter shutter speeds to prevent star trails.
- Focal Length: A wide focal length (14mm to 24mm on full-frame) allows you to capture a vast expanse of the sky and the landscape foreground. Wider lenses also allow for longer exposure times before the rotation of the earth causes stars to streak.
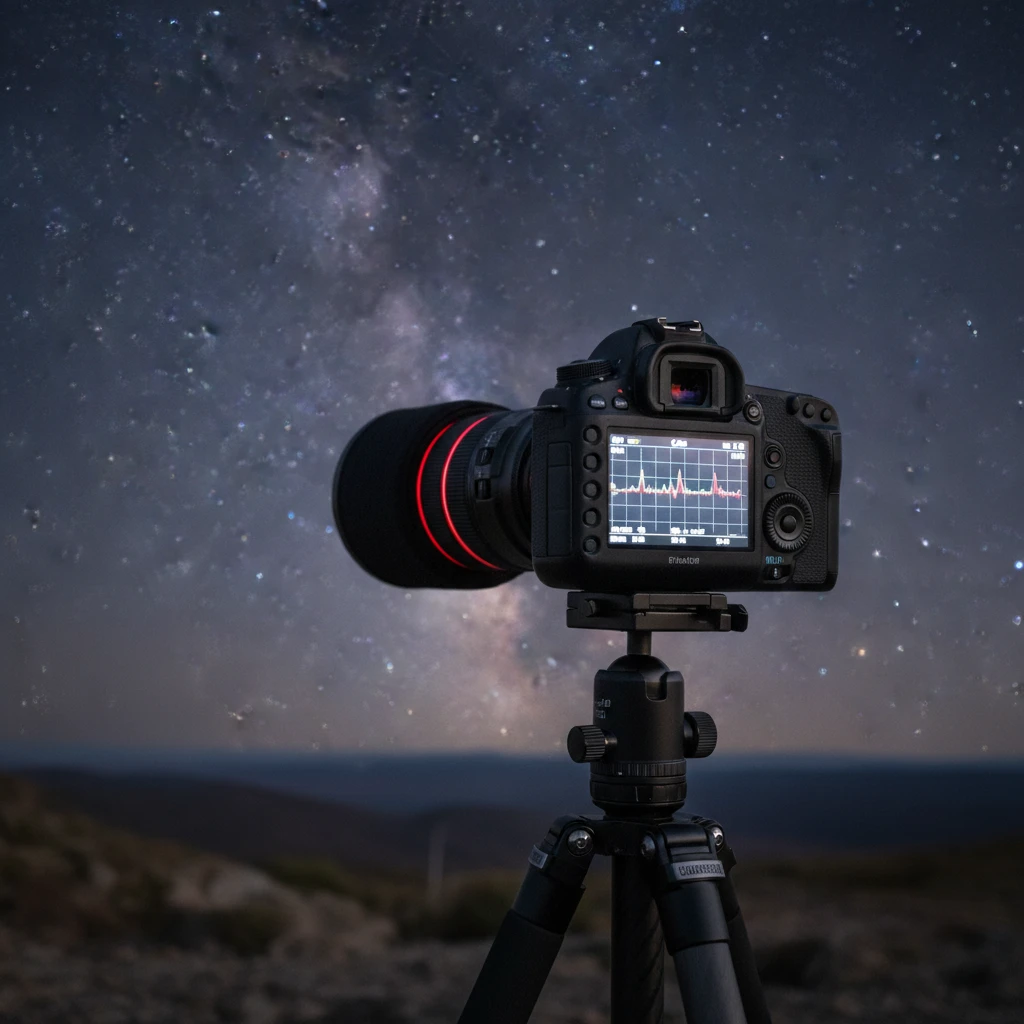
Stability and Accessories
Stability is critical. Any movement during a 20-second exposure will result in a blurry image.
- Tripod: A heavy, sturdy tripod is essential, especially in New Zealand’s windy conditions. Carbon fiber is excellent for vibration dampening.
- Intervalometer/Remote Shutter: This prevents camera shake caused by pressing the shutter button. It is also vital for shooting time-lapses or star trails.
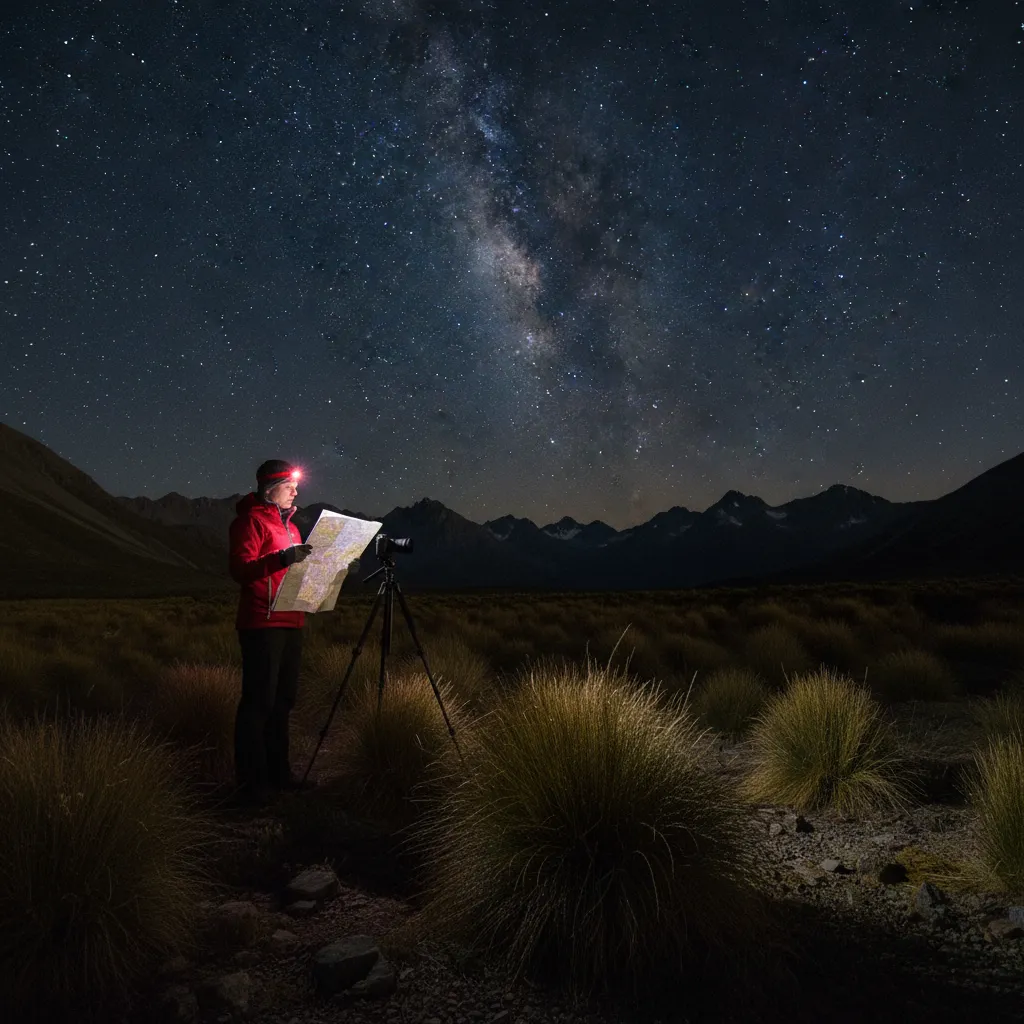
- Headlamp with Red Light Mode: White light ruins your night vision and can ruin other photographers’ shots. Always use a red light when adjusting settings in the dark.
- Lens Warmer: New Zealand nights can be damp. A USB-powered lens heater strip prevents dew from forming on your front element, which can ruin a night’s work.
Top 5 Astrophotography Spots in NZ
Identifying the best locations involves balancing accessibility, foreground interest, and sky darkness. Here are the top five locations that define New Zealand’s status as a dark sky haven.
1. Aoraki Mackenzie International Dark Sky Reserve
Located in the South Island, this is the crown jewel of New Zealand stargazing. Covering over 4,300 square kilometers, it includes Lake Tekapo, Twizel, and Aoraki/Mt Cook National Park. The Church of the Good Shepherd is the most iconic foreground subject here, though it can be crowded. For a more secluded experience, head towards the Tasman Glacier lookout.
2. Great Barrier Island (Aotea)
Situated off the coast of Auckland, Great Barrier Island was the first island in the world to be designated an International Dark Sky Sanctuary. Being an island, it is completely detached from the light pollution of the mainland. The rugged coastlines and native bush provide dramatic foregrounds. The lack of mains electricity on much of the island naturally keeps light pollution to a minimum.
3. Stewart Island (Rakiura)
Rakiura translates to “Land of Glowing Skies,” a reference to the Aurora Australis (Southern Lights). As the southernmost populated island in New Zealand, Stewart Island offers the best chance to see the aurora. In 2019, it was officially recognized as a Dark Sky Sanctuary. Observation Rock in Oban provides a fantastic vantage point looking south.
4. The Catlins
Located in the southeastern corner of the South Island, the Catlins is a rugged, sparsely populated area known for its wildlife and coastal scenery. Nugget Point Lighthouse is a world-famous composition, where the Milky Way core rises vertically above the lighthouse and the scattering of rocky islets below. The isolation ensures pristine dark skies.
5. Castlepoint, Wairarapa
For those on the North Island unable to travel far, the Wairarapa coast offers excellent dark skies. Castlepoint Lighthouse is a stunning architectural feature that sits atop a limestone reef. The reflection of stars in the lagoon and the dramatic height of the lighthouse make for compelling compositions.

Mastering Composition with New Zealand Landscapes
A photo of stars alone is rarely compelling; it is the relationship between the sky and the land that creates a masterpiece. In New Zealand, the diversity of landscapes offers endless creative possibilities.
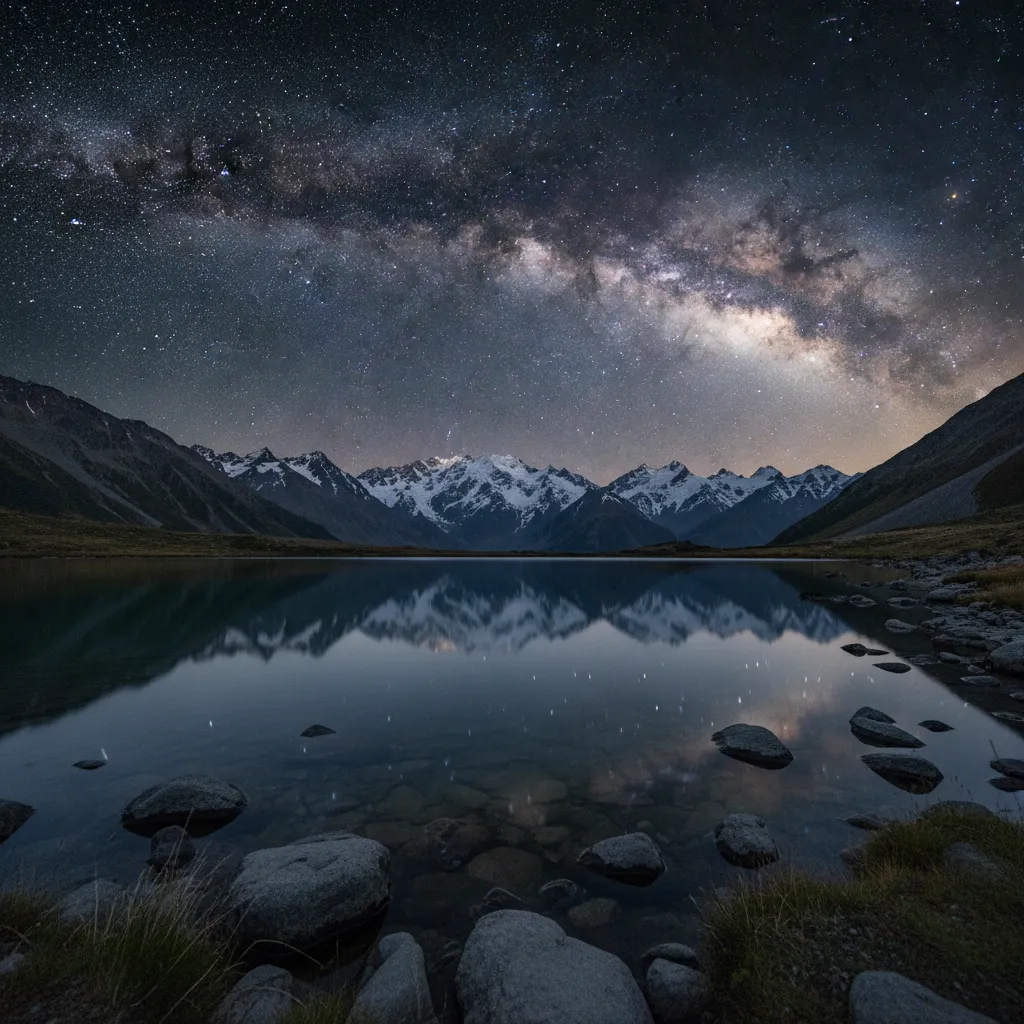
Foreground Anchors
When shooting at astrophotography spots NZ, look for strong foreground elements to anchor the image. This could be a jagged mountain peak (like Mitre Peak in Milford Sound), a calm alpine lake reflecting the stars, or a solitary tree. Using a technique called “Light Painting”—briefly illuminating the foreground with a low-powered light during the exposure—can add depth and detail to the landscape, ensuring it isn’t just a black silhouette.
The 500 Rule and Star Sharpness
To keep stars sharp and round, you must manage your shutter speed. The “500 Rule” is a good starting point: divide 500 by your lens’s focal length (full-frame equivalent) to get the maximum exposure time in seconds. For example, with a 20mm lens: 500 / 20 = 25 seconds. If you expose longer than this, the earth’s rotation will cause the stars to streak. For high-resolution sensors, a “400 Rule” or “NPF Rule” might be more appropriate for critical sharpness.
Aligning the Milky Way
In the Southern Hemisphere, the Galactic Core of the Milky Way is most visible during the winter months (roughly March to September). Use apps like PhotoPills or Stellarium to plan your shoot. These tools allow you to use Augmented Reality (AR) to see exactly where the Milky Way will rise and align it with your chosen foreground element before it even gets dark.
Dark Sky Etiquette and Conservation
Astrophotography in New Zealand is deeply connected to eco-tourism and conservation. The privilege of accessing these pristine environments comes with the responsibility to protect them.
Respecting Cultural Heritage
Many locations in New Zealand hold spiritual significance for Māori. Mountains (Maunga) and waterways are often considered ancestors. Always adhere to local signage and guidance. Do not trespass on private land or enter sacred areas (Wāhi Tapu) without permission. When visiting areas like Aoraki/Mt Cook, remember that the mountain is sacred; treat the environment with the utmost reverence.
Minimizing Light Pollution
As an astrophotographer, you are an ambassador for the dark sky. Avoid using bright white torches to light paint landscapes if other photographers are nearby, as this can ruin their long exposures. Stick to red lights for setup. Furthermore, if you are camping, keep your camp lights to a minimum to preserve the natural darkness for wildlife, particularly nocturnal birds like the Kiwi and Morepork (Ruru).
Leave No Trace
The “Leave No Trace” principle is non-negotiable. Pack out everything you pack in, including biodegradable waste. Stay on marked tracks to protect fragile alpine vegetation. By minimizing our impact, we ensure that these astrophotography spots NZ remains pristine for future observers.
People Also Ask
What is the best time of year for astrophotography in New Zealand?
The best time to photograph the Milky Way core in New Zealand is during the winter months, from March to September. During this time, the galactic center is visible for longer periods and rises higher in the sky. Winter also brings longer nights, though temperatures can be freezing.
Can I see the Aurora Australis from New Zealand?
Yes, the Aurora Australis (Southern Lights) can be seen from New Zealand, particularly from the lower South Island. Locations like Stewart Island, The Catlins, and Lake Tekapo are prime viewing spots. Activity depends on solar storms, so using an aurora forecast app is recommended.
Do I need a star tracker for astrophotography?
A star tracker is not strictly necessary for beginners but is highly beneficial for advanced photography. It counteracts the earth’s rotation, allowing for exposure times of several minutes at low ISOs, resulting in cleaner, more detailed images of the sky. For simple nightscapes, a sturdy tripod is sufficient.
What camera settings should I start with?
A good starting point for a dark sky location is: Manual Mode, Aperture f/2.8 (or widest available), ISO 3200 or 6400, and a Shutter Speed calculated by the 500 rule (usually 15-25 seconds depending on your lens). Always shoot in RAW format to allow for better post-processing.
Is it safe to do astrophotography alone in NZ?
New Zealand is generally very safe, but remote wilderness areas pose environmental risks. Weather can change rapidly, and cell reception is often non-existent. It is safer to go with a buddy, or at least carry a Personal Locator Beacon (PLB) and tell someone your plans before heading out.
Where is the darkest sky in New Zealand?
The darkest skies are found in the designated sanctuaries: Great Barrier Island, Stewart Island, and the Aoraki Mackenzie International Dark Sky Reserve. These areas consistently measure extremely low on the Bortle Scale, offering near-perfect visibility of celestial objects.