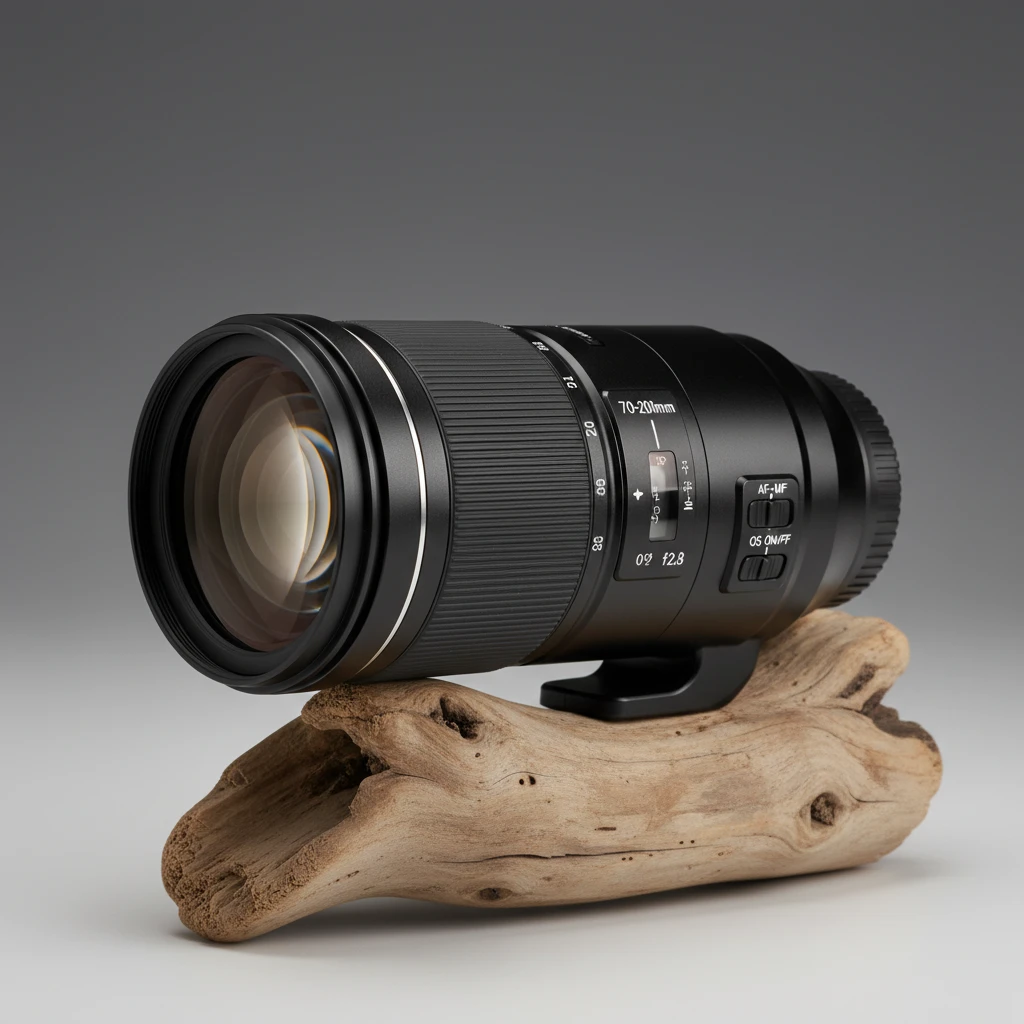
The best camera lens for bird photography in New Zealand typically requires a focal length of at least 400mm to adequately capture small, elusive native species like Riflemen or Fantails. Due to the dense, low-light canopy of NZ native forests, a lens with a fast maximum aperture (f/2.8 or f/4) and robust weather sealing is essential for achieving sharp, professional results in variable weather conditions.
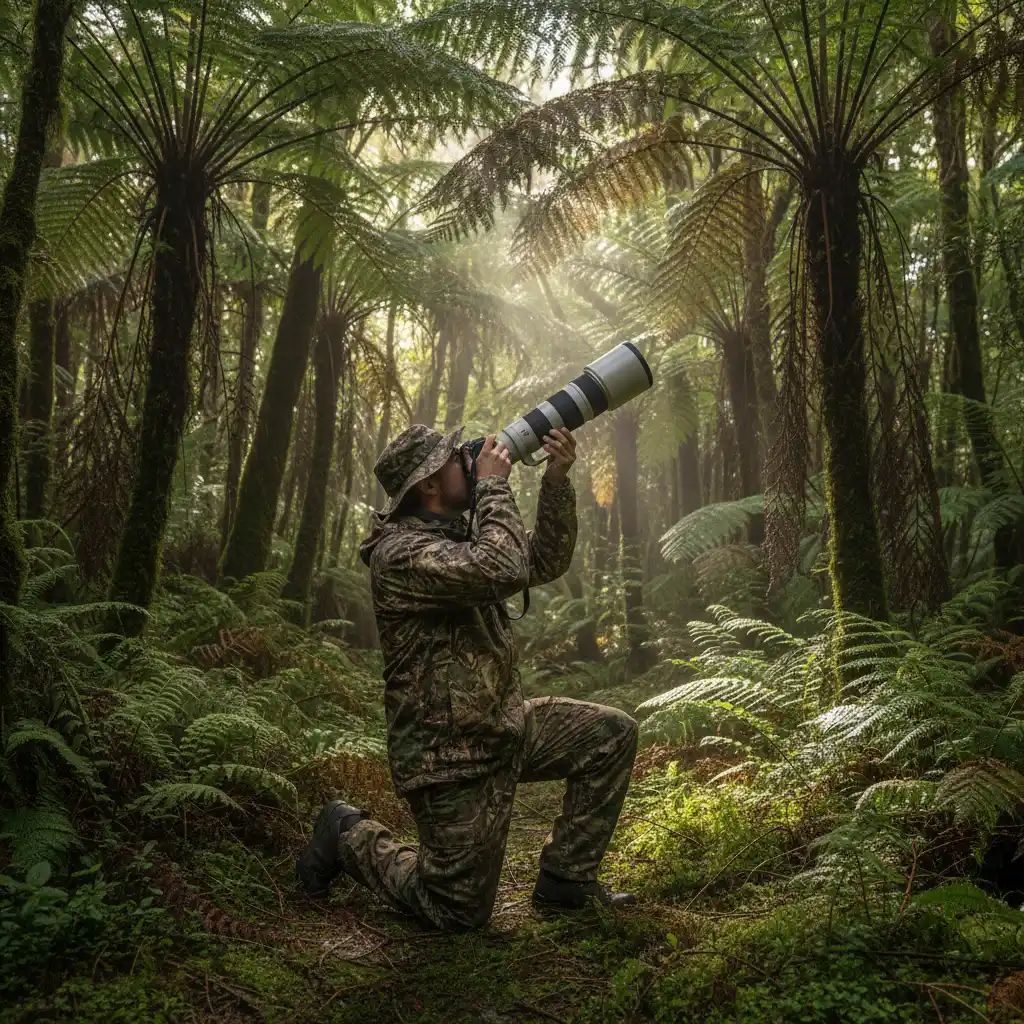
New Zealand offers some of the most unique and challenging bird photography opportunities in the world. From the inquisitive Piwakawaka (Fantail) dancing just meters away to the elusive Kiwi foraging in the pitch-black undergrowth, the demands on your equipment are extreme. Unlike open savannah photography, capturing New Zealand’s avifauna often means battling low light in dense beech forests, handling sudden torrential downpours, and tracking fast-moving subjects through chaotic foliage.
Choosing the right glass is arguably more critical than the camera body itself. While modern mirrorless cameras offer incredible autofocus capabilities, they are limited by the optical quality and speed of the lens attached to them. This guide breaks down exactly what specifications are required for the New Zealand market, balancing budget constraints with the technical necessities of eco-tourism and wildlife photography in Aotearoa.
What Focal Length is Required for NZ Birds?
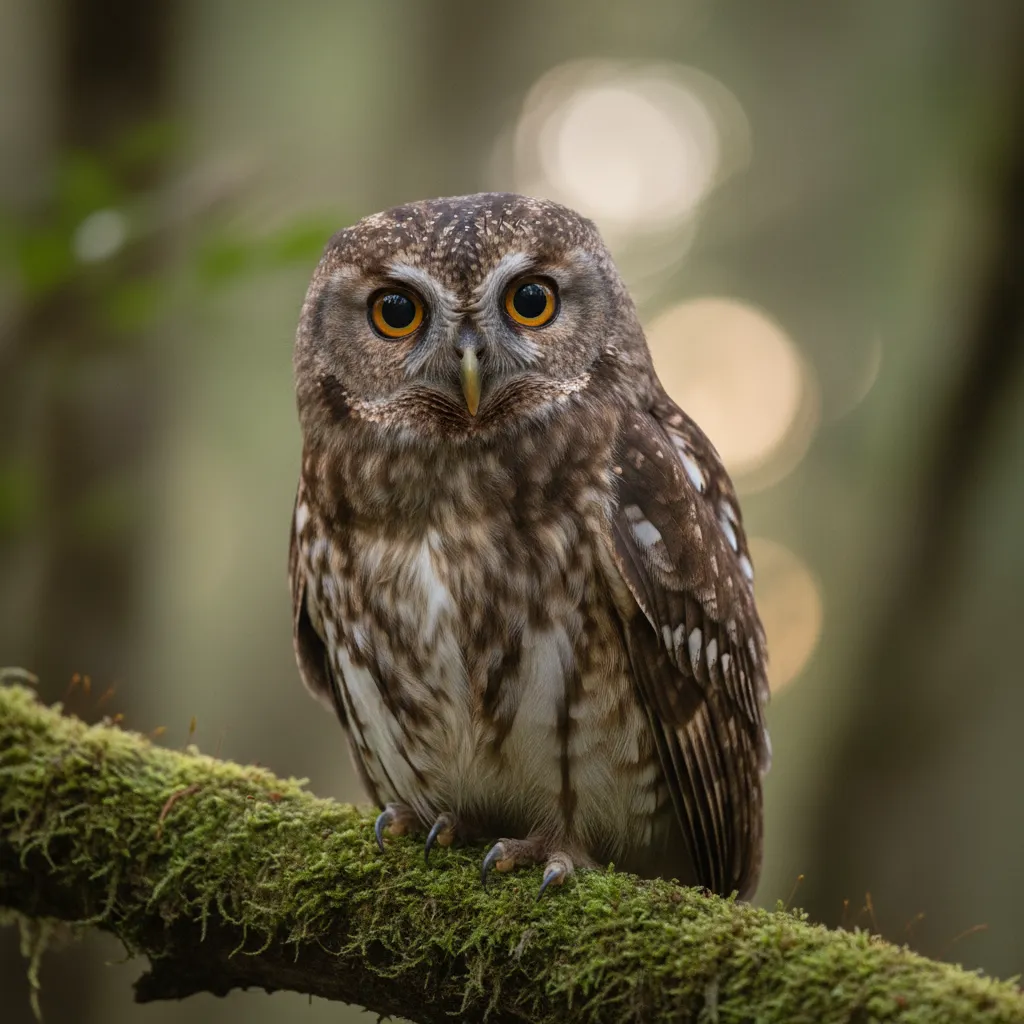
The primary challenge in New Zealand bird photography is reach. Many of New Zealand’s endemic birds are small passerines that dwell high in the canopy or deep within the scrub. While a curious Kea might approach you in an alpine carpark, a Kākāriki or a Rifleman (Titipounamu) will likely remain at a significant distance.
The 300mm Minimum
At a bare minimum, a 300mm focal length is the entry point for bird photography. However, on a full-frame sensor, 300mm is often too short for anything smaller than a Kererū (Wood Pigeon) unless you are in a sanctuary environment like Zealandia or Tiritiri Matangi where birds are habituated to humans. If you are shooting on a crop-sensor (APS-C or Micro Four Thirds) camera, a 300mm lens provides an equivalent field of view of 450mm or 600mm, respectively, which is much more effective.
The 500mm to 600mm Sweet Spot
For the vast majority of New Zealand birding scenarios, a focal length between 500mm and 600mm is ideal. This range allows you to fill the frame with a Tui or Bellbird without encroaching on their comfort zone. Lenses such as the 150-600mm zooms from Sigma and Tamron, or the Nikon 200-500mm and Sony 200-600mm, have become the standard for enthusiasts because they hit this focal range without the exorbitant cost of prime super-telephotos.
How Does Aperture Affect Shooting in Native Bush?
New Zealand’s native bush is notoriously dark. The “Green Tunnel” effect created by dense canopies of Rimu, Totara, and Beech trees blocks a significant amount of sunlight. This makes the maximum aperture of your lens a critical factor, often more so than in other parts of the world.
The Challenge of Variable Aperture Zooms
Many budget telephoto lenses feature variable apertures, such as f/5.6-6.3. While these are lightweight and affordable, shooting at f/6.3 in a dark forest requires your camera to compensate by raising the ISO significantly. This introduces noise (grain) into your images, which destroys the fine feather detail necessary for high-quality bird photography. If you are using a lens with a narrower aperture, you must rely on effective Image Stabilization (IS) or Vibration Reduction (VR) to shoot at slower shutter speeds, though this only helps with camera shake, not subject motion.
The Benefit of f/2.8 and f/4
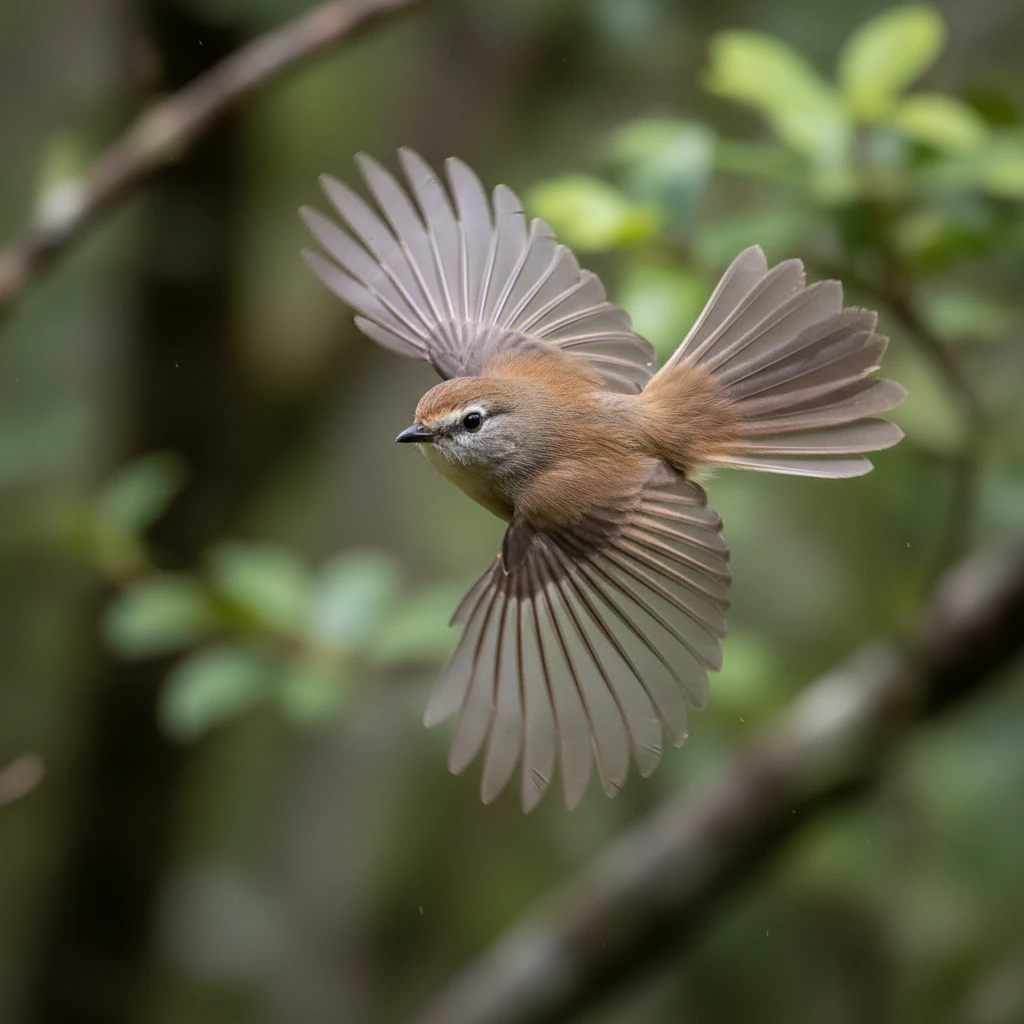
Professional lenses with constant apertures of f/2.8 or f/4 allow 2 to 4 times more light to hit the sensor compared to an f/6.3 lens. This allows for faster shutter speeds—crucial for freezing the frantic movements of a Fantail—without pushing the ISO to unusable levels. For serious work in the NZ bush, an f/4 prime lens or a high-end zoom is a substantial advantage.
What Are the Best Budget Telephoto Lenses?
You do not need to spend $15,000 to get great bird photos in New Zealand. Third-party manufacturers and entry-level proprietary lenses have bridged the gap significantly.
Sigma and Tamron 150-600mm
Both Sigma (Contemporary version) and Tamron (G2 version) offer 150-600mm f/5-6.3 lenses available for Canon EF and Nikon F mounts (adaptable to mirrorless). These are the most popular choices for Kiwi birders starting out. They offer tremendous reach and acceptable sharpness. The trade-off is weight and low-light performance, but for daylight shooting in coastal areas or open wetlands, they are exceptional.
Proprietary Mirrorless Options
Canon RF 100-400mm f/5.6-8 IS USM: An incredibly lightweight and affordable lens for Canon mirrorless users. While f/8 is slow, modern Canon cameras handle high ISO well, making this a viable hiking lens.
Nikon Z 180-600mm f/5.6-6.3 VR: A highly anticipated lens that offers excellent sharpness and native Z-mount performance, quickly becoming a favorite among NZ Nikon shooters.
Sony FE 200-600mm f/5.6-6.3 G OSS: Widely regarded as the best enthusiast wildlife lens on the market. Its internal zoom mechanism means the lens doesn’t extend, making it more robust against NZ’s dust and moisture.
Top Professional Lenses for Serious Birders
For those looking to sell prints or work commercially in NZ eco-tourism, investment in “exotic” glass is necessary. These lenses offer superior sharpness, lightning-fast autofocus motors, and the ability to isolate subjects with beautiful background blur (bokeh).
The 400mm f/2.8 and 600mm f/4
These are the titans of bird photography. A 600mm f/4 allows you to shoot deep into twilight. When paired with a 1.4x teleconverter, it becomes an 840mm f/5.6, offering incredible reach with respectable speed. In New Zealand, the weather sealing on these top-tier lenses (Canon L series, Nikon S line, Sony GM) is vital. They can withstand the sudden, horizontal rain typical of the West Coast or Stewart Island.
The Rise of the Lightweight Primes
Nikon’s Phase Fresnel (PF) and Canon’s Diffractive Optics (DO) technology have revolutionized weight. The Nikon Z 800mm f/6.3 VR S is remarkably light for its size, allowing for hand-held shooting of seabirds from boats in Kaikoura or the Bay of Islands—a feat impossible with older, heavier glass.
Should You Rent Camera Gear in NZ?
If you are a traveler visiting New Zealand for a birding holiday, or a local wanting to test a lens before dropping $3,000, renting is a smart option. Transporting large telephoto lenses on international flights can be risky and cumbersome due to carry-on weight restrictions.
Where to Rent in Major Cities
New Zealand has a robust rental market, primarily catering to the film industry but serving photographers well.
- Auckland: Topic Rentals and Photogear offer a wide range of Sony, Canon, and Nikon telephotos.
- Wellington: Rubber Monkey is the go-to for the capital, stocking high-end cinema and stills glass.
- Christchurch & Queenstown: Essential for South Island trips. Several local camera stores offer rental services specifically for tourists heading into the National Parks.
Renting a 100-400mm or a 200-600mm for a two-week South Island road trip is often more cost-effective than buying, especially if you do not shoot wildlife year-round.
Essential Accessories for NZ Conditions
A lens is only as good as the support system around it. In New Zealand, environmental factors play a huge role in your success rate.
Weather Protection
Never trust “weather-sealed” to mean “waterproof.” NZ rain is intense. Always carry a dedicated rain cover for your lens and camera setup. Brands like Think Tank or simple plastic sleeve covers can save thousands of dollars in water damage repairs.
Support Systems: Monopods vs Tripods
In dense bush, a tripod can be cumbersome to set up quickly. A monopod with a tilt head is often the preferred tool for Kiwi birders. It takes the weight of a heavy lens off your arms, allows for stability at slower shutter speeds, but retains the mobility needed to reposition when a bird moves between branches.
Conclusion
Selecting the best camera lens for bird photography in NZ is a balance of reach, speed, and budget. For most enthusiasts, a modern 200-600mm or 100-400mm zoom offers the best versatility for capturing everything from Albatross in Kaikoura to Robins in Fiordland. However, if your focus is the deep bush and twilight active species, prioritizing a wider aperture like f/2.8 or f/4 is a necessary investment. Whatever you choose, ensure it is weather-resistant and that you have the patience to master the unique behaviors of New Zealand’s avian treasures.
Is 300mm enough for bird photography in NZ?
300mm is considered the absolute minimum. It is generally sufficient for larger birds like Kererū, Kea, or seabirds if you can get relatively close. However, for small forest birds like Fantails, Tomtits, or Riflemen, 300mm will likely leave you needing to crop the image significantly, reducing quality. A 400mm or 500mm lens is highly recommended.
What is the best shutter speed for NZ birds?
For stationary birds, you can shoot as low as 1/250s if you have good image stabilization. However, New Zealand birds are often active. For twitchy birds like Fantails, you need at least 1/1600s or 1/2000s to freeze motion. In low light, this often requires raising your ISO.
How do I photograph birds in dark NZ forests?
Use the widest aperture your lens allows (lowest f-number). Increase your ISO (don’t be afraid of ISO 3200 or 6400 on modern cameras). Use a monopod for stability. Try to position yourself where there are gaps in the canopy to utilize shafts of light, waiting for the bird to enter the lit area.
Do I need a tripod for bird photography?
Not always. In the dense NZ bush, tripods can be slow to set up. A monopod is often better for mobility. However, if you are waiting in a hide or photographing wetland birds from a fixed position, a tripod with a gimbal head is superior for handling heavy lenses.
What camera settings are best for birds in flight?
Use Continuous Autofocus (AI-Servo for Canon, AF-C for Nikon/Sony). Select a wide zone or tracking focus area. Set your shutter speed to at least 1/2000s. Use Auto ISO to handle changing light conditions as you pan across the sky or background.
Where are the best spots for bird photography in NZ?
Top locations include Zealandia (Wellington) and Tiritiri Matangi (Auckland) for rare native species. Stewart Island is premier for Kiwi and seabirds. The Otago Peninsula is world-famous for Albatross and Penguins. Okarito Lagoon on the West Coast is excellent for Herons and wetland birds.