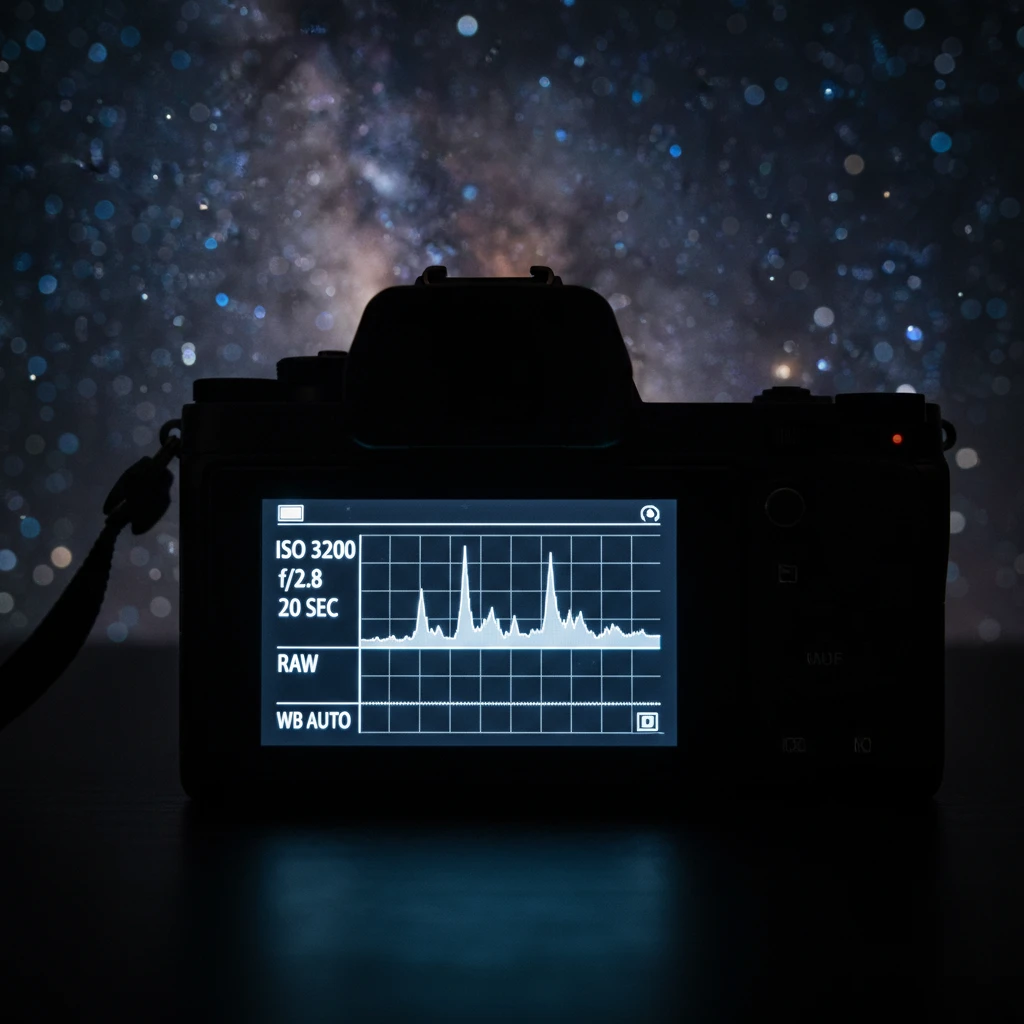
The optimal Milky Way photography settings for New Zealand skies involve shooting in Manual Mode with your aperture open as wide as possible (f/2.8 or lower), an ISO setting between 1600 and 3200, and a shutter speed calculated using the 500 Rule (typically 15-25 seconds). Always capture images in RAW format to retain maximum data for post-processing the Southern Hemisphere’s dynamic dark skies.
New Zealand is widely recognized as one of the premier astrophotography destinations on the planet. With large swathes of the country designated as International Dark Sky Reserves—including the famous Aoraki Mackenzie Reserve and Great Barrier Island—the lack of light pollution provides a canvas unlike any other. However, capturing the elusive Galactic Core requires more than just pointing your camera at the heavens. It requires a precise understanding of milky way photography settings, tailored specifically to the high-contrast environment of the Southern Hemisphere.
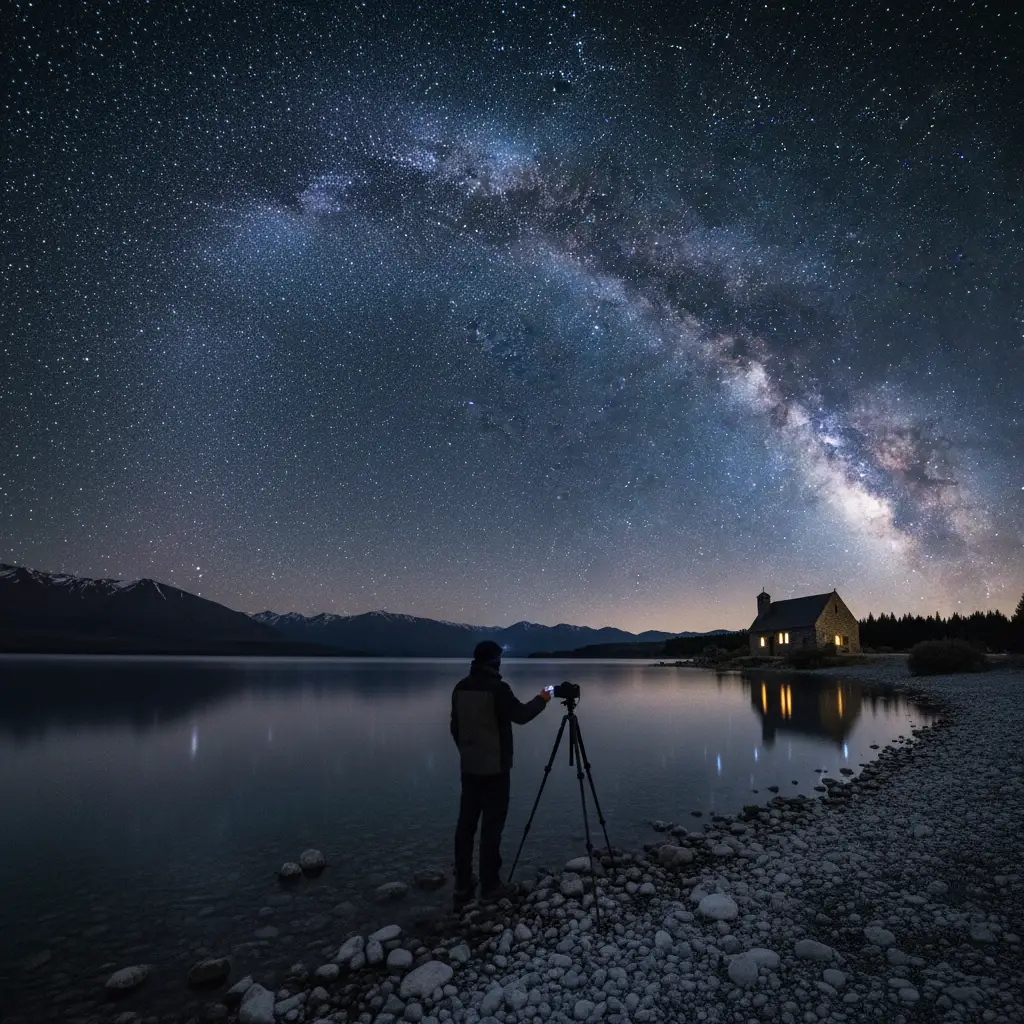
In this comprehensive guide, we will strip away the guesswork and provide you with the technical knowledge required to capture professional-grade astro-images. Whether you are standing on the shores of Lake Tekapo or the rugged coastline of Stewart Island, these settings will ensure your results are sharp, well-exposed, and breathtaking.
Gear Essentials for NZ Dark Skies
Before dialing in your settings, it is imperative to ensure your hardware is capable of the task. New Zealand’s night environments can be cold and humid, requiring robust equipment.
Camera Body
You need a camera that handles high ISO noise well. Full-frame sensors are the industry standard for astrophotography because their larger pixels gather more light, resulting in a cleaner signal-to-noise ratio. While crop-sensor (APS-C) cameras can produce excellent results, a full-frame body like the Sony A7 series, Nikon Z series, or Canon R series will give you a significant advantage in the pitch-black valleys of the South Island.
The Lens Selection
The lens is arguably more important than the camera body. You require two specific attributes: wide-angle and fast aperture.
- Focal Length: A range between 14mm and 24mm is ideal. This allows you to capture the expansive landscape of the Southern Alps alongside the Milky Way arch.
- Aperture: You need a lens with a maximum aperture of at least f/2.8. Lenses capable of f/1.8 or f/1.4 are even better, as they allow you to lower your ISO, reducing grain.
Mastering Exposure: The Holy Trinity
Achieving the perfect exposure for the Milky Way is a balancing act between Aperture, ISO, and Shutter Speed. Let’s break down the optimal milky way photography settings.
1. Aperture: Wide Open
Set your camera to Manual Mode (M). Your aperture (f-stop) controls how much light passes through the lens. In astrophotography, we are starving for light. Therefore, you should set your aperture to the lowest possible number your lens allows (e.g., f/2.8). Stopping down to f/4 or f/5.6 will result in images that are too dark or require an unusable high ISO to compensate.
2. ISO: Finding the Sweet Spot
Many beginners fear high ISO due to digital noise (grain). However, in night photography, a high ISO is necessary to amplify the weak signal of starlight. For most modern full-frame cameras, an ISO between 1600 and 3200 is the “sweet spot.”
If you are shooting in a particularly dark area of New Zealand, such as the remote fiords of Milford Sound, you may need to push to ISO 6400. Conversely, if there is a sliver of moonlight or faint light pollution from a nearby town like Queenstown, ISO 1600 might suffice. Always shoot in RAW format, as this allows you to mitigate noise effectively in post-processing software like Lightroom or Topaz DeNoise.
The 500 Rule Explained
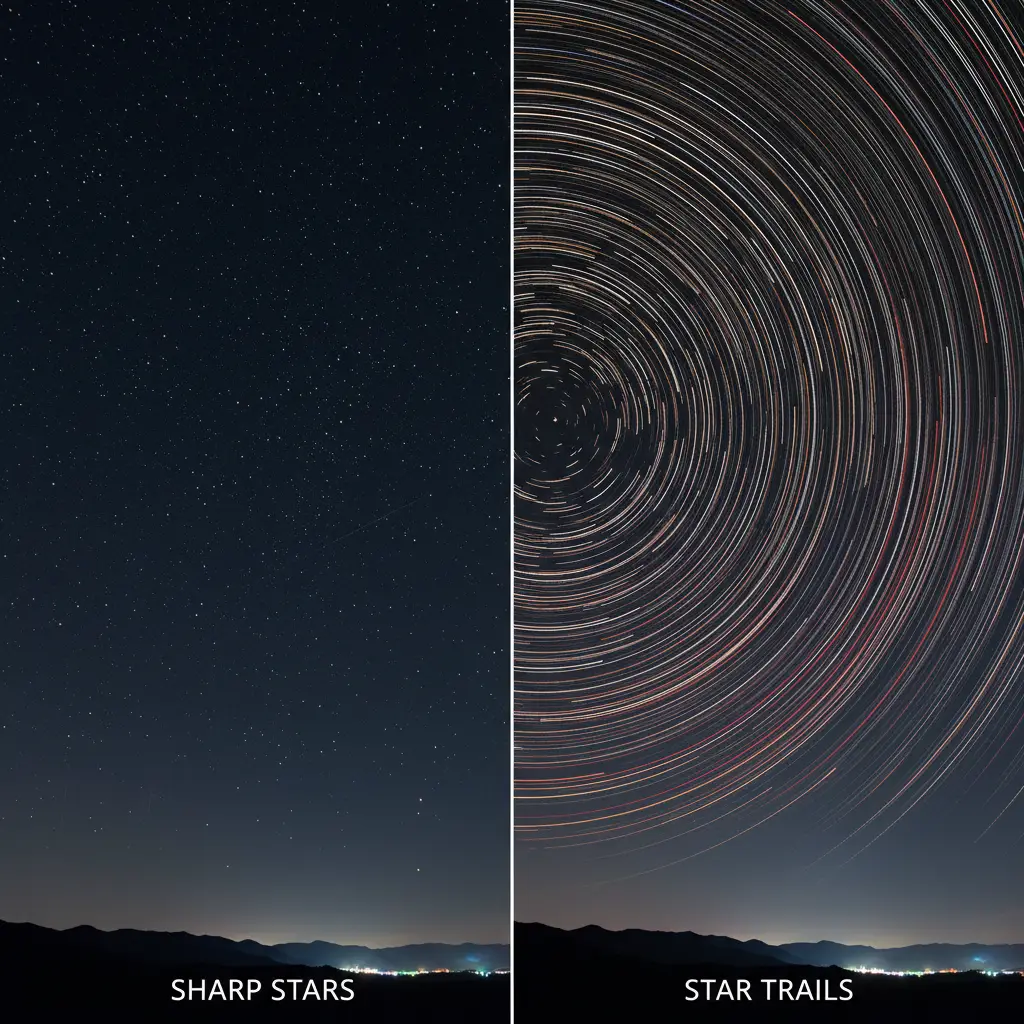
Shutter speed is the most critical variable to manage. If your shutter is open too long, the rotation of the Earth will cause the stars to streak, turning sharp points of light into blurry lines. To prevent this, photographers use the “500 Rule.”
What is the 500 Rule?
The 500 Rule is a formula used to calculate the maximum shutter speed before stars begin to trail. The formula is: 500 divided by your lens focal length equals the maximum exposure time in seconds. For example, if you are using a 24mm lens on a full-frame camera, the calculation is 500 / 24 = 20.8 seconds.
Here is a quick reference chart for full-frame cameras:
- 14mm Lens: 500 / 14 = ~35 seconds (Safest to cap at 30s)
- 16mm Lens: 500 / 16 = ~31 seconds
- 20mm Lens: 500 / 20 = 25 seconds
- 24mm Lens: 500 / 24 = ~20 seconds
- 35mm Lens: 500 / 35 = ~14 seconds
Note for Crop Sensor Users: If you use an APS-C sensor (Nikon/Sony/Fuji 1.5x crop or Canon 1.6x crop), you must account for the crop factor. For a Nikon DX camera with an 18mm lens: 18mm x 1.5 = 27mm (effective). Then, 500 / 27 = 18.5 seconds.
The NPF Rule: The Advanced Alternative
With high-resolution sensors (40+ megapixels), the 500 Rule can sometimes still show slight trailing when zoomed in 100%. For extreme precision, many pros now use the NPF Rule, which accounts for pixel pitch and aperture. However, for general web usage and prints, the 500 Rule remains a reliable standard.
Focusing in the Dark
Autofocus systems rely on contrast and light. In the pitch black of a New Zealand reserve, your autofocus will fail 99% of the time. You must switch to Manual Focus (MF).
How to Focus on Stars Manually?
Follow this step-by-step process to ensure tack-sharp stars:
- Switch to Manual Focus: Flip the switch on your lens or camera body to ‘MF’.
- Turn on Live View: Use the LCD screen, not the viewfinder.
- Boost ISO Temporarily: Crank your ISO to 12,800 or higher just for focusing. This makes the stars appear brighter on the screen.
- Find a Bright Star: Locate the brightest star or planet (Jupiter and Venus work well) in the sky.
- Magnify: Use the digital zoom button (magnifying glass icon) on your camera to zoom in 5x or 10x on that star on your LCD screen. Do not zoom the lens itself.
- Adjust the Focus Ring: Slowly rotate the focus ring until the star becomes the smallest, sharpest point of light possible. If it looks like a donut or a blob, you are out of focus.
- Lock it Down: Once focused, do not touch the ring. Some photographers use gaffer tape to secure the focus ring in place.
- Reset Settings: Remember to drop your ISO back down to 1600-3200 before taking the shot.
Foreground Composition Ideas
A photo of just stars can be taken anywhere. To capture the essence of New Zealand, you need a compelling foreground. The disparity in brightness between the dark ground and the sky is a challenge. Here is how to handle it.
Silhouettes and Reflections
New Zealand’s geography offers dramatic silhouettes. The jagged peaks of the Southern Alps or the solitary Church of the Good Shepherd in Tekapo are iconic choices. Because the sky is your exposure priority, the ground will be very dark. Silhouettes embrace this, using the shape of the land against the bright galactic core.
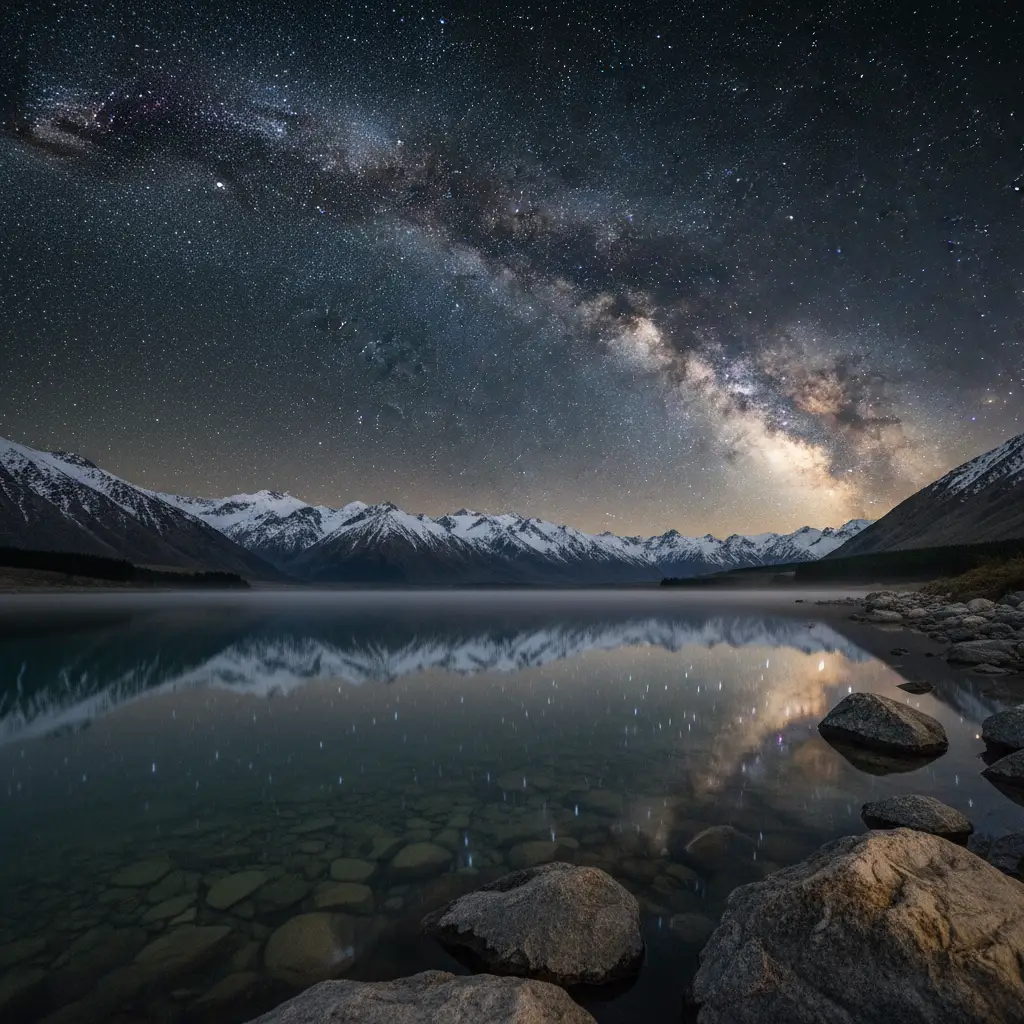
Reflections are another powerful tool. Lake Matheson on the West Coast is famous for its mirror-like surface. To capture a reflection of the stars, you will likely need a slightly longer exposure or a wider aperture, as the reflection absorbs some light.
Light Painting
If you want detail in the foreground, consider Low-Level Lighting (LLL) or light painting. Briefly sweep a dim flashlight over the foreground rocks or trees during your 20-second exposure. The key is subtlety; you want it to look like moonlight, not a spotlight.
Planning Your Shoot in NZ
Seasonality
The Galactic Core (the brightest part of the Milky Way) is not visible year-round. In New Zealand, the core season runs roughly from February to October.
– Early Season (Feb-April): The core rises in the early morning hours (3:00 AM – 5:00 AM) in the South-East.
– Mid Season (May-July): The core is visible almost all night, rising in the East and passing overhead. This is winter, so dress warmly.
– Late Season (August-October): The core is visible immediately after sunset in the West/South-West.
The Moon Phase
The biggest enemy of milky way photography settings is the moon. A full moon will wash out the stars, rendering the Milky Way invisible. Always plan your trips around the New Moon phase (when the moon is not visible). Apps like PhotoPills or Stellarium are essential for tracking moon phases and the position of the Milky Way relative to your location.
People Also Ask
What is the best ISO for Milky Way photography?
For most full-frame cameras, the best ISO is between 1600 and 3200. This range provides a good balance between light sensitivity and manageable noise levels. If you have an older camera or a crop sensor, try to stick to ISO 1600. If you are in an exceptionally dark location like Stewart Island, you might push to ISO 6400.
Why are my star photos blurry?
Blurry stars are usually caused by one of two things: a shutter speed that is too long (causing star trails) or missed focus. Ensure your shutter speed adheres to the 500 Rule (usually 15-25 seconds) and that you have manually focused on a bright star using the Live View magnification method.
Can I use a kit lens for astrophotography?
Yes, but it is challenging. Most kit lenses have a maximum aperture of f/3.5 or f/4.5. To compensate for the smaller aperture, you will need to increase your ISO significantly (often to 6400 or higher), which introduces noise. If you are using a kit lens, shoot at the widest focal length (e.g., 18mm) and the widest aperture available.
What white balance should I use for night sky?
It is best to set a custom Kelvin white balance between 3800K and 4500K. This renders the night sky in a neutral, pleasing blue tone and prevents the orange color cast often caused by light pollution or Auto White Balance (AWB). However, if you shoot in RAW, you can easily adjust this in post-production.
Do I need a star tracker in New Zealand?
A star tracker is not strictly necessary for single-exposure landscape astrophotography, but it allows for much longer exposures (1-2 minutes) at lower ISOs without star trailing. This results in cleaner, more detailed images. For beginners, a sturdy tripod and the 500 Rule are sufficient.
Where is the darkest sky in New Zealand?
The Aoraki Mackenzie International Dark Sky Reserve in the South Island is the largest and most famous. However, Great Barrier Island (near Auckland) and Rakiura / Stewart Island are also designated Dark Sky Sanctuaries and offer exceptionally low light pollution levels ideal for photography.